From Chaos to Control: How to Start Content Batching and Take Charge of Your Content in 3 Steps
Content batching is the trendy term of the year! I’m sure by now you’ve heard of it and you might have a few ideas of what it is. Maybe you’ve seen a few reels briefly explaining how you load months worth of content into a scheduler, ready to drip into your feed automatically while you sit back and relax or focus on other, more interesting parts of your business. Maybe you’ve even tried it out!
If you haven’t heard of it, content batching is making a plan for your social media and using an app to schedule out your posts. People who have this method down usually plan out a month in advance and schedule to post every day for the month.
The tutorials you may have seen raving about content batching have one thing right: it'll make life easier for you. By batching your content ideation, development, and scheduling, you will become more efficient and able to load up months' worth of content like your favorite content creator.
But the process might look different than you thought.
Let me break it down for you so you understand what content batching is and move forward with a realistic expectation of how long it'll take.
The important word here is batching. In a marketing sense, this refers to the combining of similar products, tasks, or information into a single group.
Batch tasks to keep your focus
When planning and preparing social media, you may be tempted to see one project through from ideation to publication: think up the idea for a post, create the image, write the caption, post or schedule it, let it go live, and interact with people in the comments.
Batching takes a different approach to content creation. The batching process combines the tasks of writing captions, filming videos, taking photos, or designing templates. Instead of writing one caption and moving on to another task for that post, you write a dozen captions for a dozen posts. Then you move on to a different type of task.
Set aside some time to work on one task at a time. That’s the whole idea of content batching.
If this method sounds interesting to you, let me break down the process with a few steps.
STEP 1: Make some Decisions
First, decide, based on your brand guidelines, which social media platforms you should use. I know my target market is on Instagram, Pinterest, and TikTok because my ideal audience is a younger audience. I provide educational and entertaining content, and my goal is to lead people to my blog and website to read more, and to shop my products or service.
Next, decide how often you want to post.
PSA: I fully believe you should post as often as is manageable and enjoyable to YOU!
If you can’t handle posting every day then you don’t have to. Posting consistently means more eyes on your content and more customers. But consistently could be every other day or even three times a week. It’s up to you! Try something out for a month and see how it feels, then revise if necessary.
Then, decide in what order you will create your content.
I'm a visual person, so I prefer to create the post first, and then write the caption.
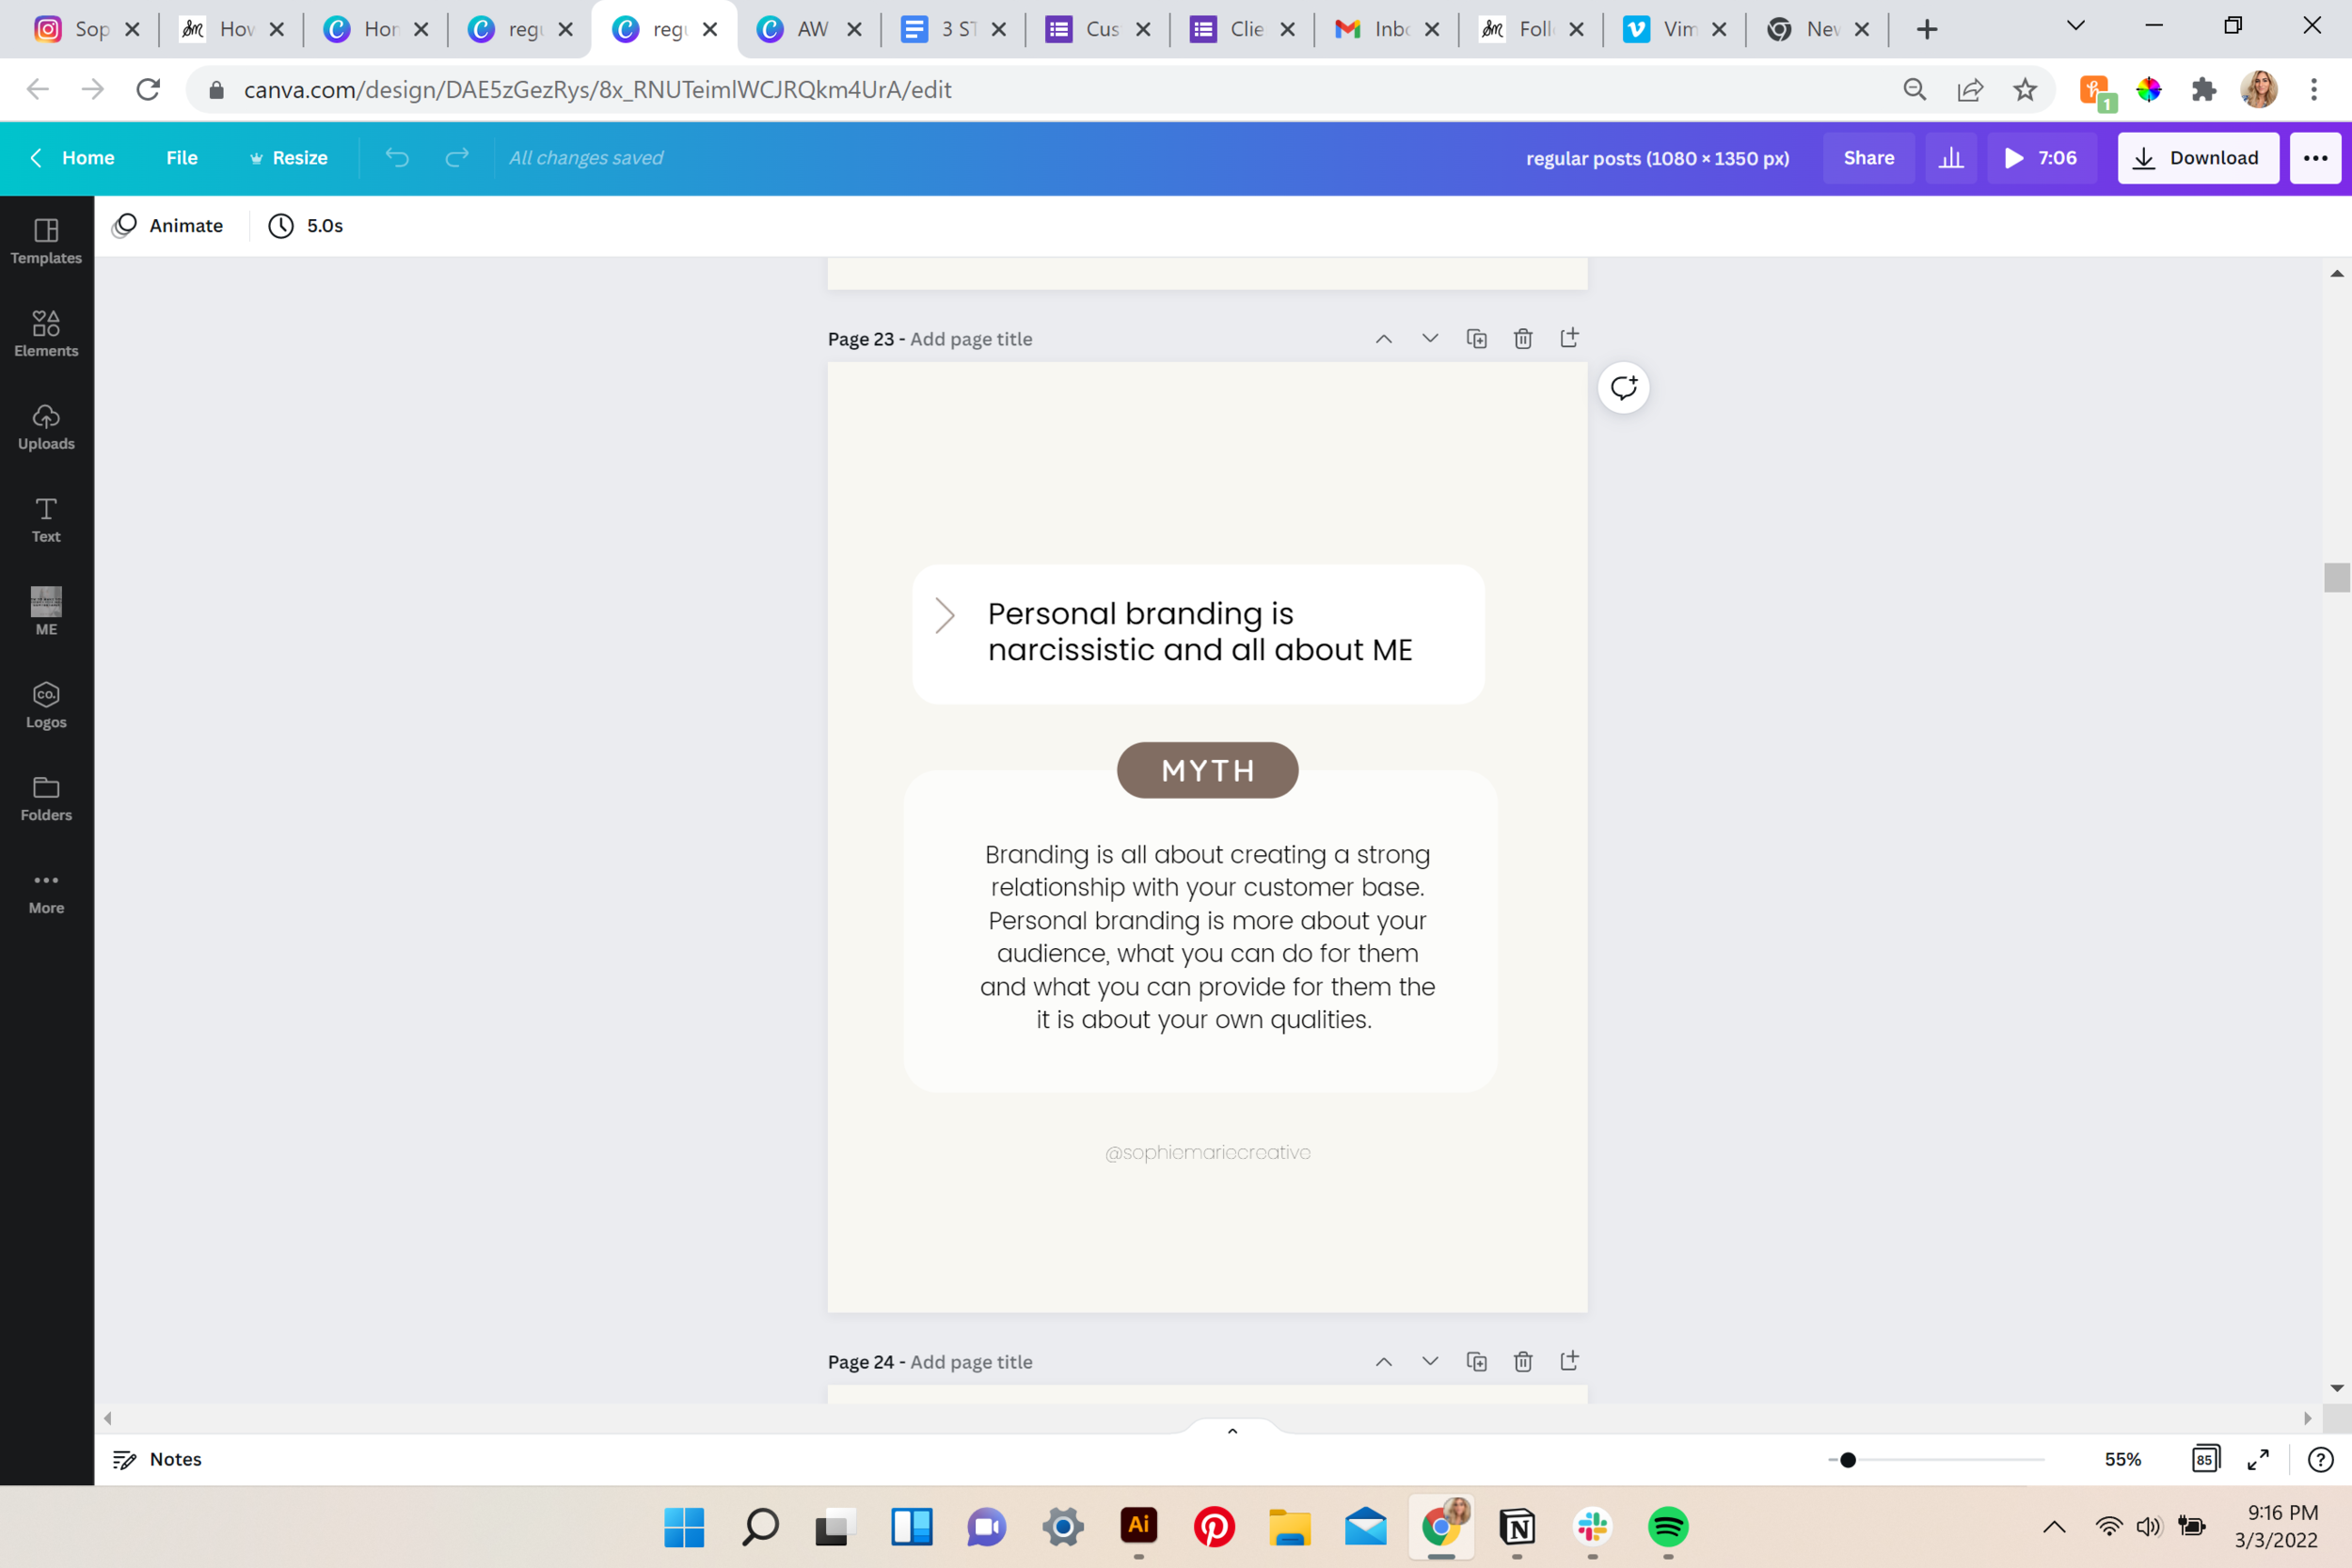
I use Canva to design my graphics.
I use notion to plan out my posts. Here are all my graphics lined up in the order I would like to post them.

Inside each Notion “page” I write my captions below the inserted graphic.

If it's easier for you, you can write out the content ideas and the captions in a notes app (I like Google Docs or Evernote). Then later create graphics or take pictures or videos regarding the content. Either order you prefer, I would suggest using a day or two to take videos or pictures, a day to write captions, and a day or two to create graphics.
It may take you longer to create content when you are starting out, take some time to figure out your process, and keep in mind that it will get easier the more you do this.
STEP 2: Create the content
Now the fun part! You should be ready to start creating content. Write the captions, take the pictures or videos, and design the graphics. Remember to batch your tasks! Sit down and focus on one task at a time. If you have more ideas while you’re creating the content, write them down for later. Stick to your strategy and create what you need to create.
A few content creation tips:
Video is the leading form of content currently, so I highly suggest using the reels feature on Instagram or diving into TikTok, if it suits your brand guidelines and you feel comfortable creating videos.
I suggest using Canva to create your graphics (like tips and tricks, or a carousel post). It has a free version and lots of templates you can use as examples. If you have money to invest, I also provide personalized templates that fit your branding and your social media needs.
Your captions should contain a catchy headline, the body copy, a call to action, and hashtags of your choice.
Don't forget to stick to your brand guidelines when creating content! Your brand guidelines are your visual identity, personality, voice and more. Your photos and videos should all be similarly cool or warm. Your graphics should all use the same fonts and colors. Your captions should use your tone and you should consistently support what you value.
If you need help defining your brand guidelines as a content creator or coach, register now for my branding course. This course will walk you through each step of defining your personal brand.
STEP 3: Schedule them out
Use a scheduling app to schedule out your posts.
If you use Facebook, I suggest using the Facebook Business Suite, as Facebook prefers if you use its own feature. Facebook Business Suite is free and you can post to both Facebook and Instagram, you can even schedule stories.
If you use only Instagram, I suggest using Planoly. Planoly has a free version that lets you upload 30 pictures a month. Once you upload the pictures, you can see them laid out the way they would look on your Instagram feed. You can drag and drop them into a different order. Planoly also has a feature to upload them automatically to Instagram all through the app, although it will not yet let you upload carousel posts or stories.
If you post to Pinterest, you can use the Pinterest app to schedule your posts. It will only let you schedule up to a month in advance, however, so if you need more than that, use the Later app. The free version of this app will let you schedule as many posts to Pinterest as you would like. You can only choose to post on one social media using this platform, though, so choose whether you want to use it for Pinterest or another platform like Instagram.
Simplify Your Social Media Process
There is no one-size-fits-all approach to content batching, but use these tips to create a system that works for you.
I’ve been working on this method since I first heard of it and it has made my life so much easier! I am no longer forgetting to post or having trouble thinking of ideas. From personal experience, I highly suggest using the content batching method to simplify your social media process. It will save you time throughout the month from having to come up with posts on the spot. It will give you content to post regularly, so you aren't posting "whenever you feel inspired." And it will help you come up with beneficial and engaging content to share with your audience.